
Classic scones are tender, flaky, buttery, and light with a subtle sweetness. Also, they are super easy and quick to make. In an hour you can enjoy freshly baked scones. Bake these scones and have them for a leisurely breakfast/brunch, a hearty supper, or an afternoon cup of tea.
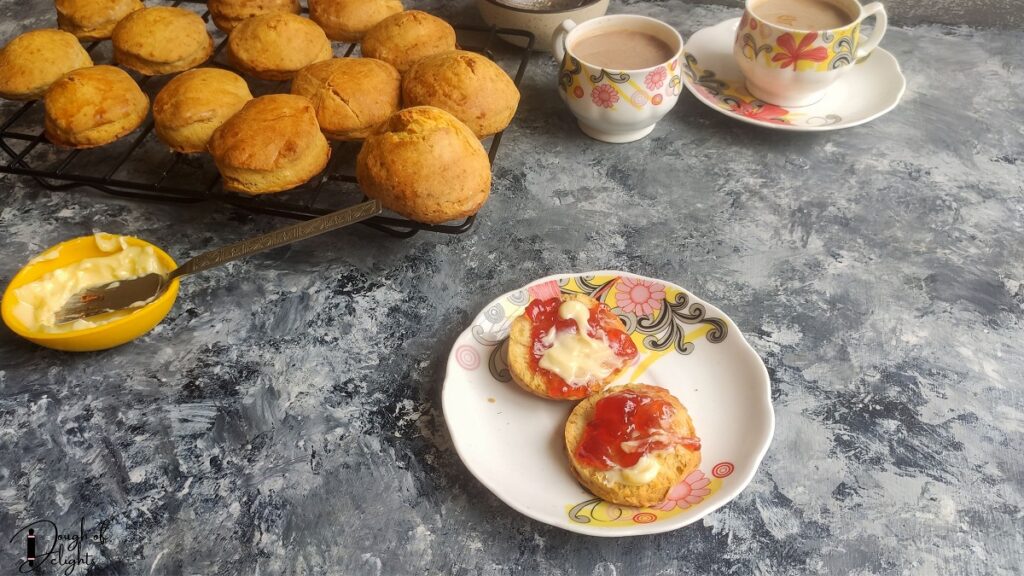
Scones are British traditional baked goods. They are a kind of quick bread. English Classic scones typically are slightly sweet but sometimes they can be savoury too. They could be basic or loaded with dates, cheese, raisins, or berries. British have a tradition of enjoying their tea with hot and freshly baked scones served with butter, jam, and clotted cream.

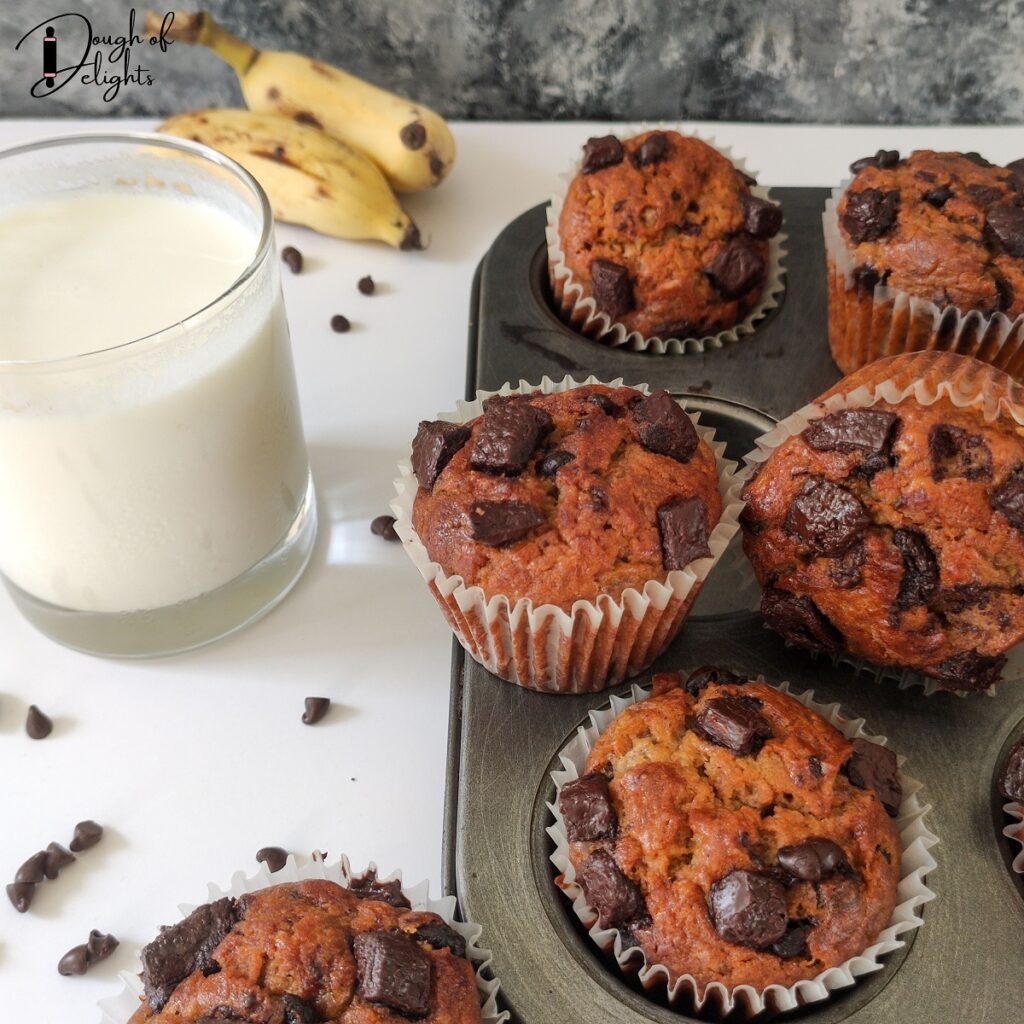
(Try my other recipes like milk bread, egg-less savory scones, white bread loaf)
As mentioned above classic scones have tender and flaky textures. You may feel it will be a complicated process but it’s not, it’s quite easy to create. Let’s discuss the ingredients required and the process involved.
Ingredients required
Butter- COLD butter is the secret to the flaky texture of scones. Make sure to use butter straight from the fridge. I have used unsalted but feel free to use salted just use half the amount of salt mentioned.
All-purpose flour
Milk- Heavy Cream, Buttermilk, and Sour cream, can also be used. But make sure it is cold.
Sugar
Salt
Baking powder
Egg- Again make sure the egg is cold.

How to make classic scones?
Step 1:- Mix all the dry ingredients and set aside.
Step 2:- Grate the cold butter with a grater. Incorporate the butter in to dry mix by rubbing the butter and flour between your fingers. You can use a processor, pastry blender, fork, mixer, etc (but I prefer fingers). The texture of the mixture should be like coarse sand.
Step 3:- Add egg and milk (straight from the fridge) to the mixture. Mix with a spatula till the dry ingredients are invisible. The dough should be tacky and sticky.
Step 5:- Dust a flat/rolling surface with flour. Turn the dough onto the surface and dust the surface of the dough and your hands. Rather than kneading fold the dough just enough that the dough comes together. If the dough gets sticky sprinkle more flour.
Step 6:- Dust a rolling pin and roll the dough to achieve a 1-inch thickness. With the help of cookie cutters dipped in flour, cut out scones from the dough (dip the cookie cutter in the flour before each cut). Remember to only press the cookie cutter do not twist.
Step 7:- Carefully place these scones onto a parchment/butter paper lined. Gently brush the surface of scones with milk or beaten egg and put them in the freezer for 30 minutes.
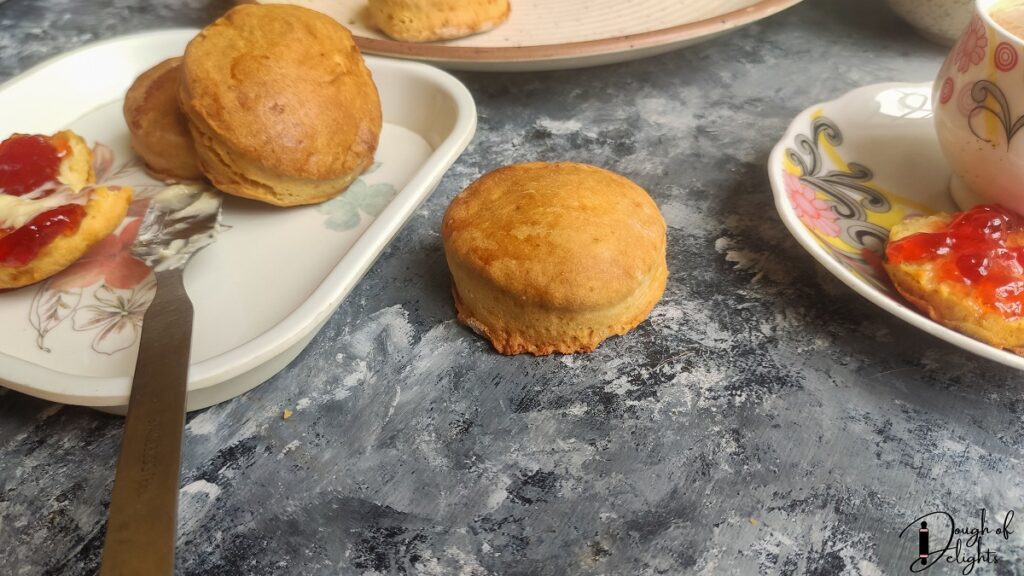
Step 8:- Bake them in a preheated oven till they are golden brown and tripled in height. Serve hot, warm, or at room temperature.

How to Store Scones ?
Store scones in an airtight container at room temperature or in the refrigerator for 4-5 days. They can be reheated for a few seconds in the microwave or toasted on the stovetop to heat them and make them fluffy again.
Scones can also be frozen by placing completely cooled scones in an airtight container or bag. They can be frozen for up to 1 month
How to Make Classic Scones In Advance ?
The shaped unbaked scones can be covered and refrigerated overnight.
They can also be frozen. First place the shaped scones in the freezer for 2 hours and then place them in an airtight container. They can be stored for up to 1 month. Directly bake from the freezer or refrigerator without thawing, adding a couple of extra minutes in the oven if needed.
Is it necessary to place unbaked scones in the freezer for 30 minutes?
While chilling the scones, the gluten of the flour relaxes and results in tender and fluffy scones with better rise. Also chilling the butter in the dough results in a flaky texture.
How to know if the scones are properly baked?
The scones will turn a beautiful golden brown colour and will almost triple in height.

How to ensure that the classic scones are baked tender and flaky?
- Cold butter- As mentioned secret to flaky layers is cold butter otherwise scones may end up dense and heavy. So make sure the butter is straight from the fridge. While or after grating, if the butter feels soft and mushy put it back in the fridge for a few minutes.
- Cold milk and egg- To ensure the butter remains cold the egg and milk should also be cold. So again make sure that they are straight from the fridge.
- Avoid over-mixing- While incorporating butter to dry ingredients or folding the dough do not over-mix. The texture of scones might end up chewy because of over-mixing. One best way to avoid mixing is to use hands rather than a processor.
- Fold the dough- Folding makes sure that the flour is not over-mixed, and also helps in creating layers.
- Do not use too much flour- While folding make sure to sprinkle flour just enough to work with the dough. Too much flour can make scones very dry.
- Do not twist the cutter- while cutting the scones with a cutter only press into the dough do not twist. Twisting can lock the sides of scones and will not allow them to rise.
- Milk/ egg wash should be applied carefully- If milk/egg wash is applied on the sides scones won’t rise properly.
If you liked this recipe, try these!

Classic Scones
Ingredients
Method
- In a jar/ bowl mix milk and egg. Put this in the fridge till all the other ingredients are combined.
- In a large bowl sift in all-purpose flour, baking powder, and salt. Add sugar and whisk.
- Grate the cold butter in a grater or cut them into small cubes.
- Put the grated butter in the dry mix. With a pastry blender, pastry fork, a mixer, or, most easily, your fingertips, work in the butter until the mixture is unevenly crumbly (coarse sand)
- Into this add milk and egg mixture and combine with a spatula till no dry ingredients are visible. The dough will look sticky and shaggy.
- Turn it out onto a well-floured board. Flour your hands and the surface of the dough well. Fold the dough (around 10 to 15 times), just enough to bring it together. It is not supposed to be smooth and springy. Sprinkle on more flour as you need it to keep the dough from sticking.
- With a well-dusted rolling pin, roll the dough out to about 1 inch thick.
- Cut out circles with the help of a well-dusted cookie cutter/round glass. Transfer these circles to the parchment/butter paper-lined tray.
- Carefully apply milk with a brush on the top surface of the scones only.
- Place them in the freezer for 30 minutes.
- Bake in a preheated oven at 200℃/390℉ for 15-20 minutes or until golden.
Notes
-
- Cold butter- As mentioned secret to flaky layers is cold butter otherwise scones may end up dense and heavy. So make sure the butter is straight from the fridge. While or after grating, if the butter feels soft and mushy put it back in the fridge for a few minutes.
-
- Cold milk and egg- To ensure the butter remains cold the egg and milk should also be cold. So again make sure that they are straight from the fridge.
-
- Avoid over-mixing- While incorporating butter to dry ingredients or folding the dough do not over-mix. The texture of scones might end up chewy because of over-mixing. One best way to avoid mixing is to use hands rather than a processor.
-
- Fold the dough- Folding makes sure that the flour is not over-mixed, and also helps in creating layers.
-
- Do not use too much flour- While folding make sure to sprinkle flour just enough to work with the dough. Too much flour can make scones very dry.
-
- Do not twist the cutter- while cutting the scones with a cutter only press into the dough do not twist. Twisting can lock the sides of scones and will not allow them to rise.
-
- Milk/ egg wash should be applied carefully- If milk/egg wash is applied on the sides scones won’t rise properly.